

Mastering an authentic ciabatta recipe brings the rustic Italian bakery right to your own kitchen. This iconic bread, with its crisp, thin crust and famously holey interior, is a project that rewards patience and a light touch. The magic lies in a wet, sticky dough and slow fermentation that builds incredible flavor and texture. It’s a classic Italian bread that feels special every single time you pull it from the oven.
Why You'll Love This Recipe
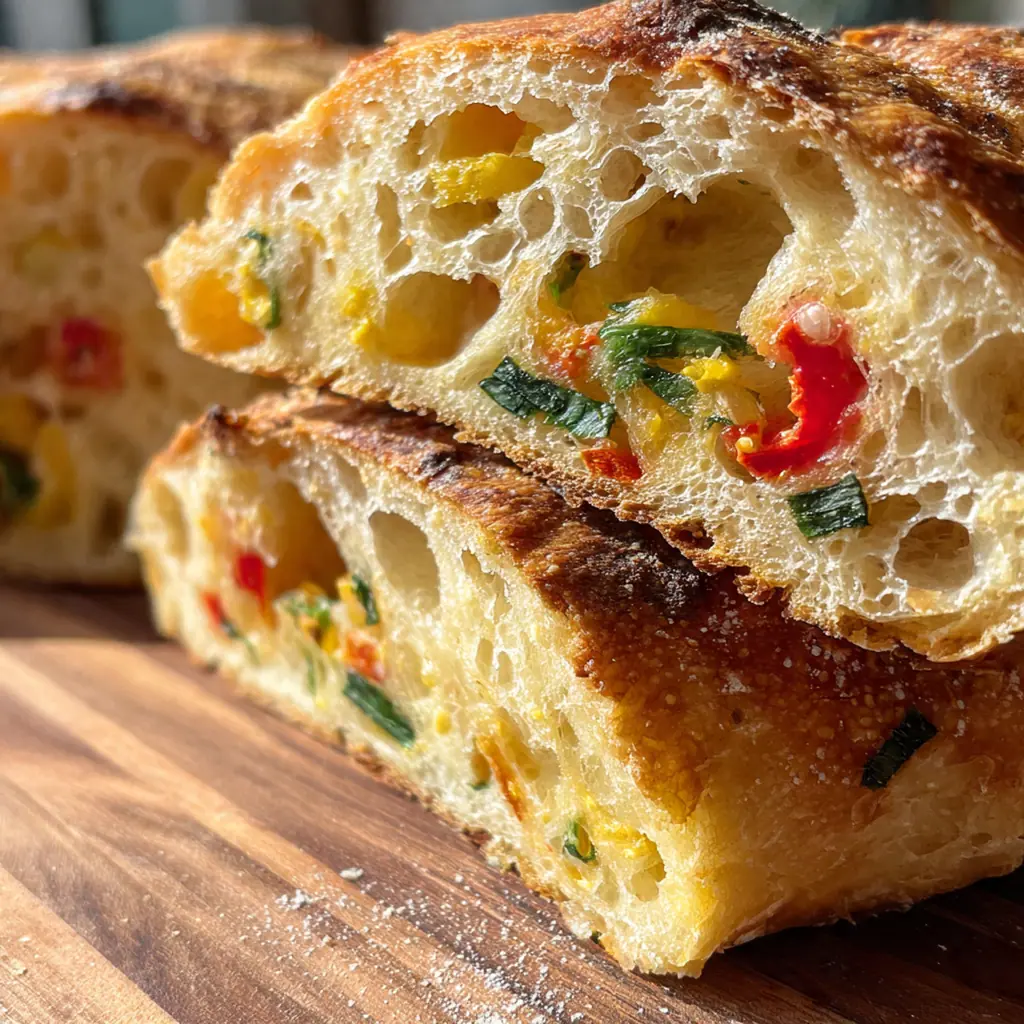
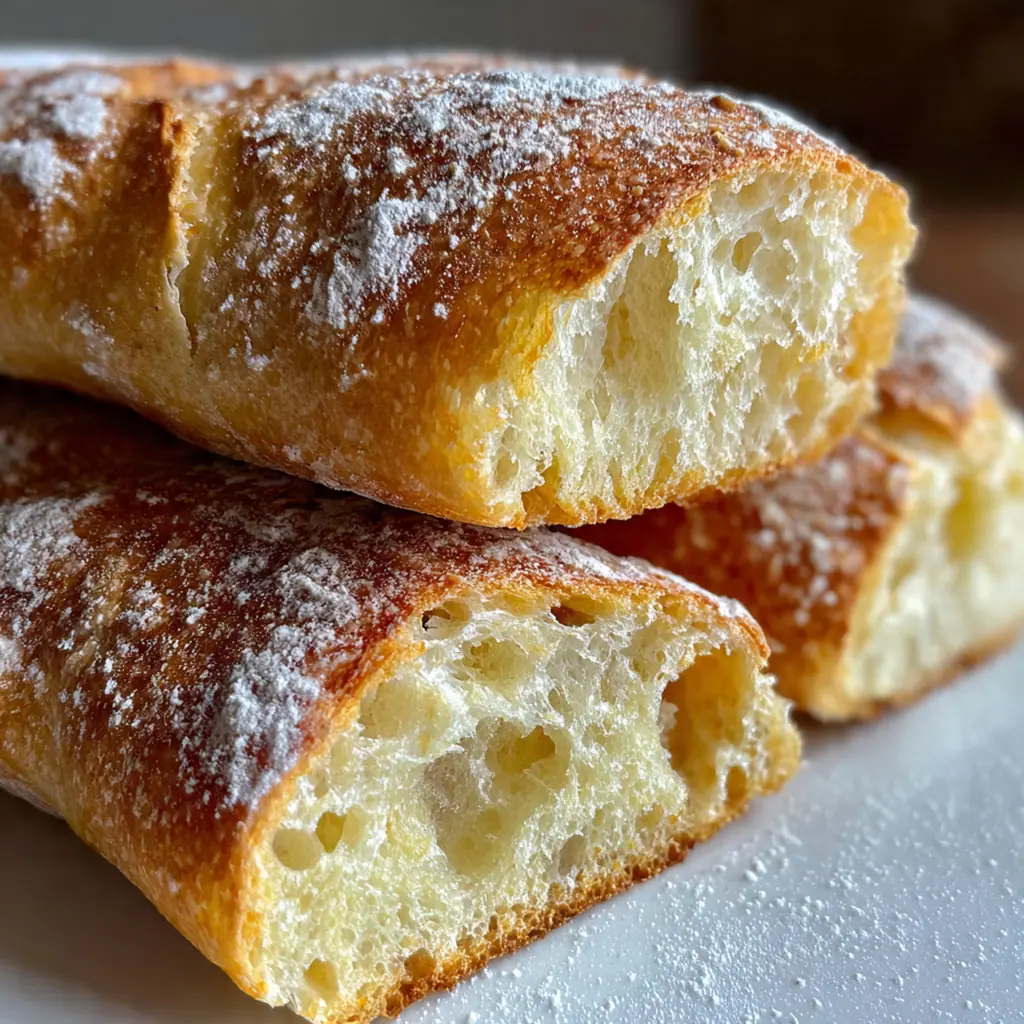
- The crackly crust and soft, airy interior are simply irresistible
- You get maximum flavor from just a handful of simple ingredients
- The slow fermentation builds a wonderful, slightly tangy depth
- It’s far more affordable and satisfying than anything from the store
- My house smells incredible every time I bake these loaves
Ingredients You’ll Need
- Active dry yeast: this small amount gives a slow, steady rise that builds flavor look for a fresh packet to ensure strong fermentation
- Warm water: the temperature activates the yeast and helps create the wet dough consistency you need aim for around 105°F for best results
- Bread flour: its high protein content is essential for developing the strong gluten structure that supports all those beautiful holes
- Fine sea salt: it tightens the gluten and seasons the entire loaf its fine texture dissolves and distributes evenly
- Olive oil: just a little prevents the dough from sticking during its rise and adds a hint of fruity richness
- Semolina flour or cornmeal: dusting the pan with this creates a non-stick surface and adds a pleasant crunch to the crust
How to Make It
Make the Sponge:
Start by making the biga, or sponge, which is the flavor foundation for your ciabatta recipe. Dissolve a little yeast in warm water and stir in some flour to make a loose batter. Let it ferment at room temperature for at least 12 hours. You’ll know it’s ready when the surface is bubbly and frothy, smelling wonderfully complex.
Mix the Dough:
Add the remaining yeast and flour directly to your fermented biga. Use a sturdy spoon or your hands to mix until a shaggy, rough dough comes together. Cover the bowl and let it rest for a full 15 minutes. This autolyse period lets the flour fully hydrate and begins developing the gluten without any work from you.
Incorporate the Salt:
Sprinkle the salt evenly over the surface of the dough. Wet your hands to prevent sticking, then begin folding and stretching the dough right in the bowl. Grab one edge, pull it up, and fold it into the center, rotating the bowl as you go. Work for about five to seven minutes until the dough starts to feel smoother and stronger, though it will remain very sticky.
First Rise and Folds:
Transfer your slack dough to a clean, oiled bowl and cover it tightly. Let it rise at room temperature for about two hours. Every thirty minutes, perform a series of folds just like you did before. These folds build structure and strength into the wet dough, and you’ll see it become increasingly bubbly and almost double in size.
Shape the Loaves:
Generously flour your work surface and two pieces of parchment paper. Gently tip the dough out, trying to keep as much air inside as possible. Use a floured bench scraper to divide it in half. Gently coax each piece into a rough rectangle, but don’t overwork them. Transfer each shaped loaf to its own floured parchment, dust the tops lightly, and cover with a towel.
Final Proof and Oven Prep:
Let the shaped loaves proof for 45 minutes to an hour. They won’t rise dramatically but will look puffy. About 30 minutes in, preheat your oven with a baking stone or sheet on the middle rack and a shallow pan on the bottom. This preheat is crucial for that explosive oven spring.
Bake with Steam:
Carefully slide the loaves, still on their parchment, onto your hot baking surface. Immediately pour a cup of hot water into the preheated pan below to create a burst of steam, then quickly shut the oven door. Bake until the crust is a deep, burnished golden brown and sounds hollow when tapped.
Cool Completely:
Transfer the baked ciabatta to a wire rack right away. This is the hardest part but don’t skip it. You must let the loaves cool for at least one full hour. Cutting in too soon traps steam and makes the interior gummy, ruining all your hard work.
You Must Know
- The dough should be wet and sticky, not dry and firm
- Steam in the oven is non-negotiable for the perfect crust
- Patience during cooling is just as important as the bake time
- I always weigh my flour for consistent results
Storage Tips
Once your ciabatta is completely cool, store it in a paper bag at room temperature for up to two days to help preserve the crisp crust. For longer storage, wrap the whole loaf or slices tightly in plastic wrap and freeze for up to three months. When you’re ready to enjoy it, thaw the bread at room temperature and then refresh it in a 350°F oven for five to ten minutes to bring back that wonderful crackle and soft interior. Never store fresh bread in the fridge as it accelerates staling and ruins the texture.
Ingredient Substitutions
If you can’t find bread flour, you can use all-purpose flour, but know the crumb might be slightly less open and chewy. For the semolina or cornmeal dusting, you can use a little extra bread flour in a pinch, though you’ll miss the slight texture and insurance against sticking. While not traditional, a teaspoon of honey or sugar can be added to the biga to give the yeast a slightly faster start, especially in a cool kitchen. And if you only have instant yeast, you can use the same amount and skip the initial dissolving step, mixing it right in with the flour.
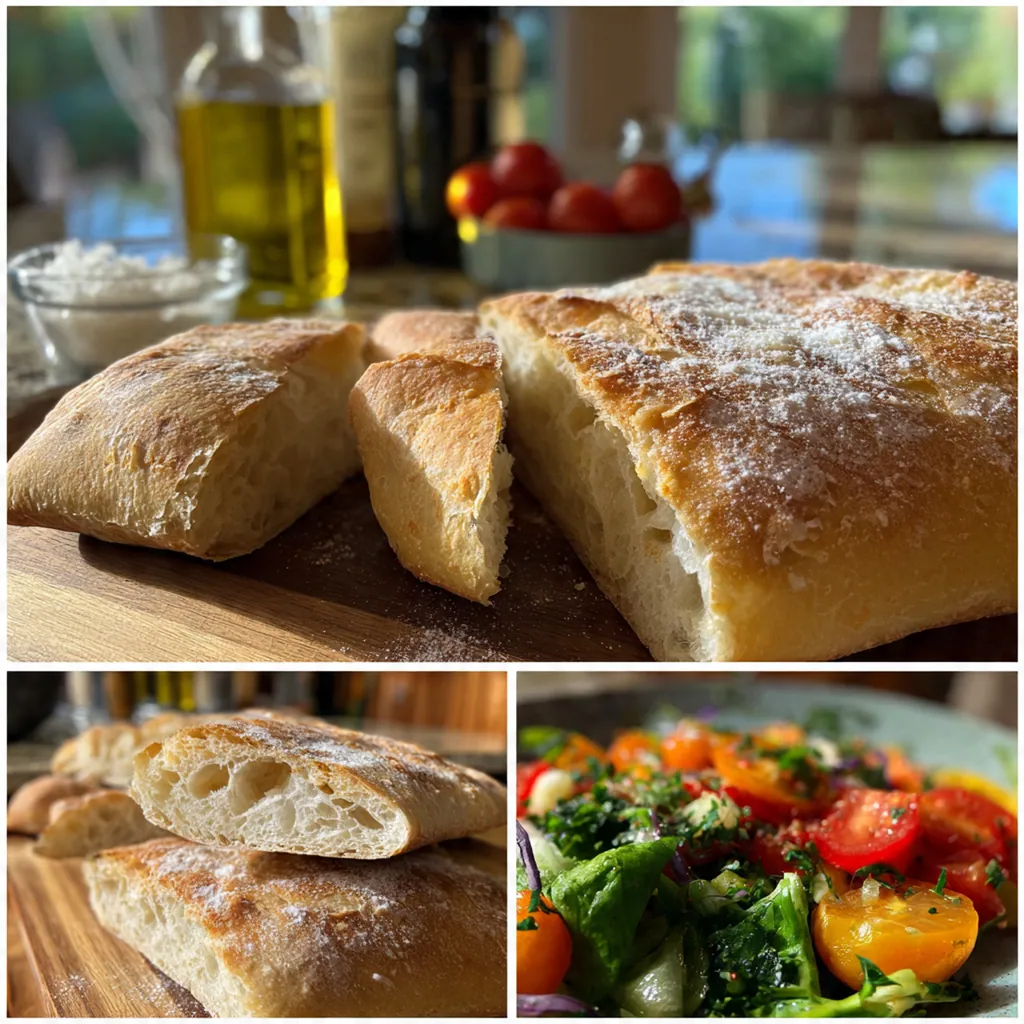
Serving Suggestions
Tear into a warm loaf with a bowl of your best olive oil and aged balsamic vinegar for the simplest, most satisfying snack. For lunch, slice it horizontally for epic sandwiches layered with prosciutto, fresh mozzarella, and basil. Thick slices also make the perfect base for bruschetta topped with diced tomatoes and garlic, or you can cube and toast it for panzanella salad. Don’t forget it’s the ultimate tool for sopping up the last drops of a hearty soup or a rich pasta sauce right from the pan.
Cultural Context
Ciabatta, which means ‘slipper’ in Italian for its flat, elongated shape, is a relatively modern bread that originated in the Lake Como region in the 1980s. Bakers created it specifically as a response to the popularity of French baguettes, aiming to produce an Italian loaf with a similarly open, airy crumb but using a much wetter dough. Its signature holes and chewy texture come from that high hydration and the slow, patient fermentation of a biga starter, a technique deeply rooted in Italian baking tradition. Today, it’s a staple across the country, prized for its versatility and the way its crisp crust yields to a soft interior perfect for holding flavorful fillings and oils.
Pro Tips
- Use a digital scale to measure your flour for perfect consistency every time
- Keep a bowl of water nearby to wet your hands and tools when handling the sticky dough
- If your kitchen is cool, let the dough rise in your turned-off oven with the light on for wa…
- Letting the biga ferment for the full 24 hours develops an incredible flavor depth
Frequently Asked Questions
Bread flour is essential for this ciabatta. Its higher protein content (typically 12-14%) creates the strong gluten network needed to trap the gases from fermentation. This strength is what gives the dough structure despite being very wet and sticky, leading to that classic holey, open crumb and chewy texture.
Absolutely! The dough’s flavor actually improves with a slow, cold ferment. After the initial bulk fermentation and folds, you can cover the bowl tightly and refrigerate the dough for up to 24 hours. Let it come to room temperature for about an hour before shaping, proofing, and baking for the best results.
You can use an equal amount of table salt, but be aware it’s more potent by volume. For the best flavor control, we recommend sticking with fine sea salt or kosher salt. If using coarse kosher salt (like Diamond Crystal), you might need to increase the amount slightly, as it’s less dense. Avoid iodized salt if possible, as it can impart a slight metallic taste.
The loaves should be deeply golden brown and sound hollow when tapped on the bottom, about 20-25 minutes in a hot oven. An instant-read thermometer inserted into the center should register between 200-210°F (93-99°C). The crust will be very crisp and thin when it first comes out, softening slightly as it cools.
Fresh ciabatta is incredibly versatile. Serve it sliced with high-quality olive oil and balsamic vinegar for dipping, use it for gourmet sandwiches like panini with prosciutto and mozzarella, or toast it for bruschetta. It’s also perfect for sopping up soups and pasta sauces, making it a staple for any Italian-inspired meal.