

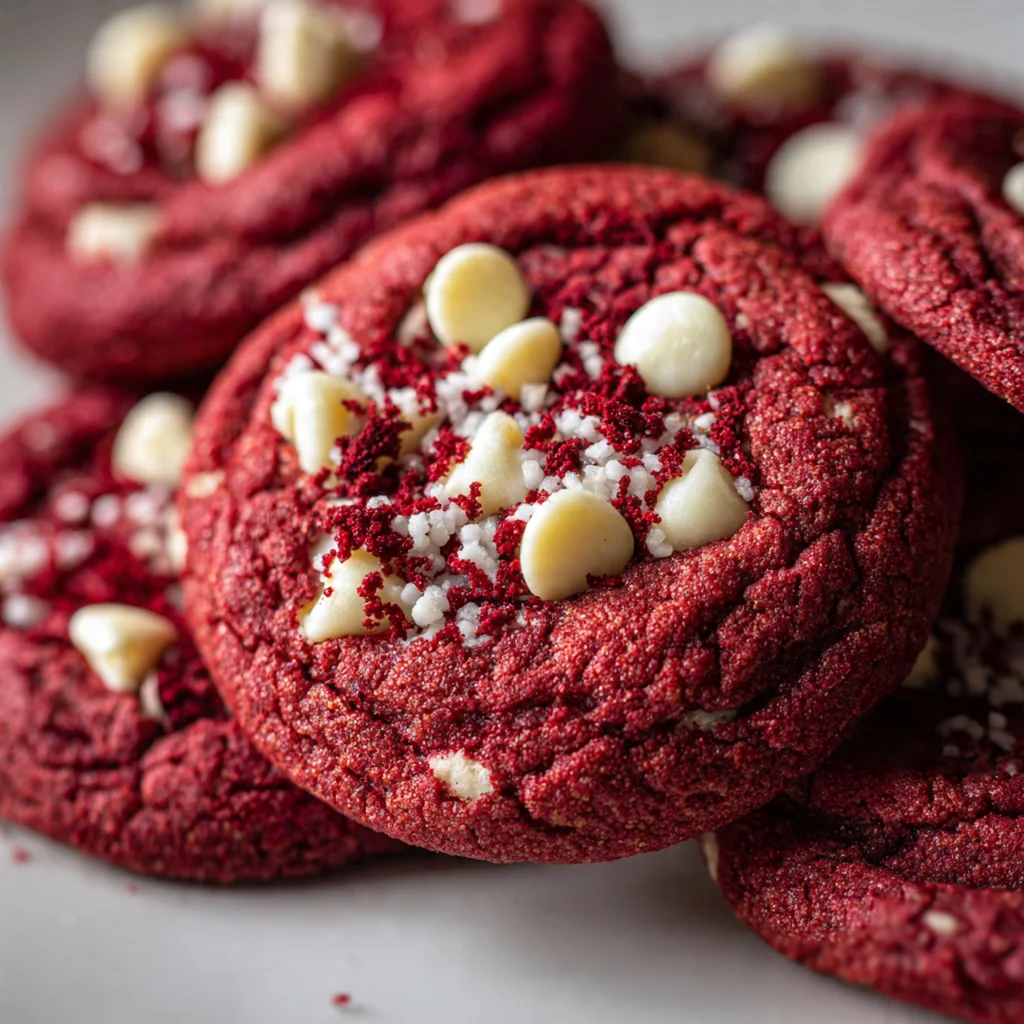
Classic red velvet cookies bring all the nostalgic flavor of the beloved cake into a soft, chewy treat. Their vibrant red hue and rich cocoa taste make them a showstopper for any occasion, from Valentine’s Day to Christmas. As an American dessert staple, they’ve been a favorite in my family for years because they’re surprisingly simple to whip up with pantry staples. You’ll love how the tangy buttermilk balances the sweetness, creating a cookie that’s impossible to resist.
Why You'll Love This Recipe
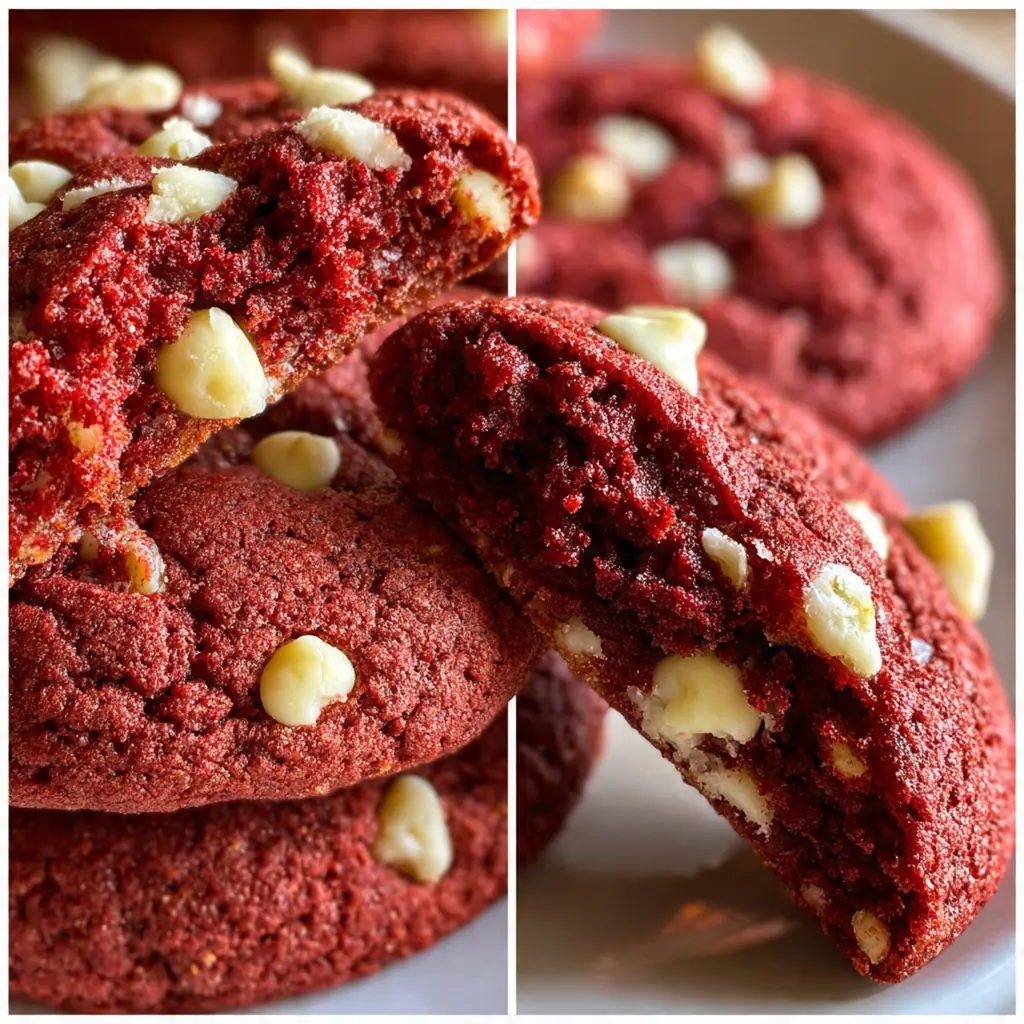
- They have the perfect soft and chewy texture cookie lovers crave
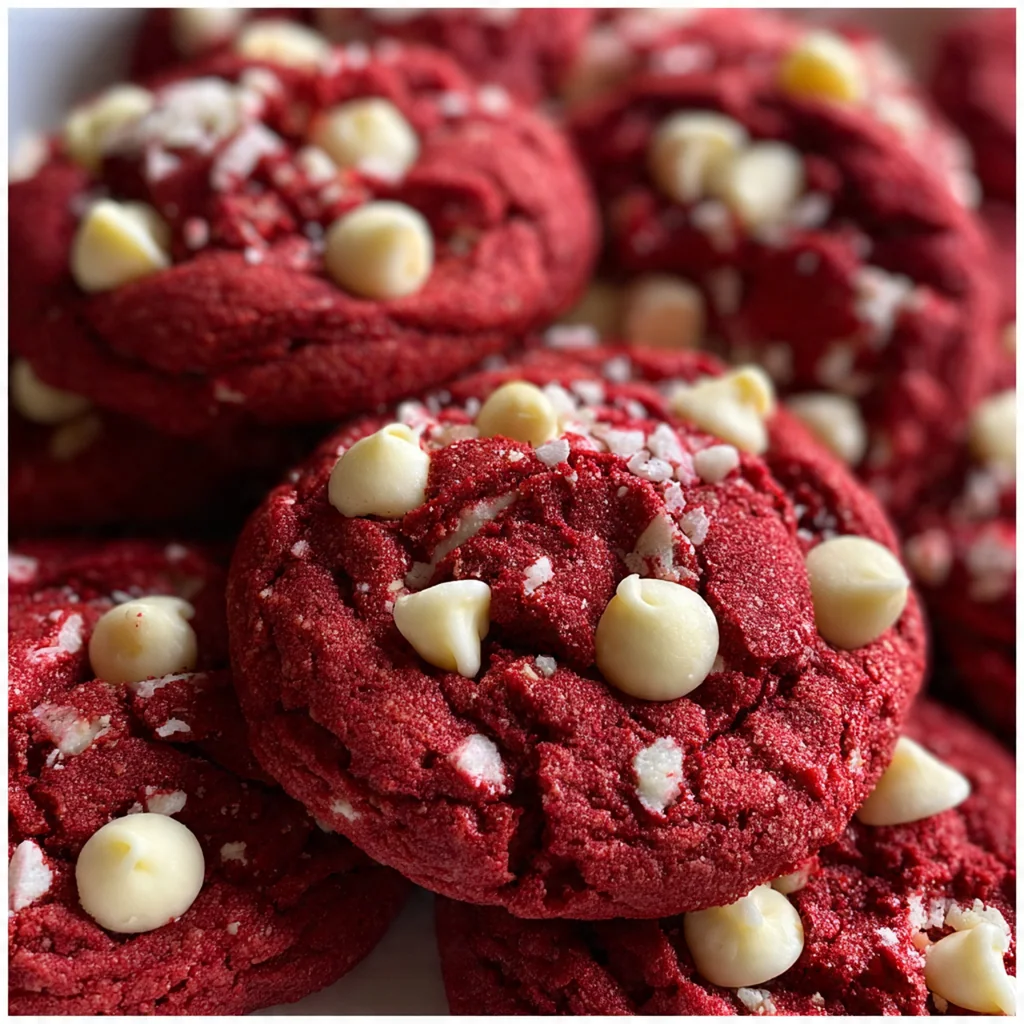
- The vibrant red color makes them festive for any holiday gathering
- You get that classic tangy buttermilk and cocoa flavor in every bite
- They come together quickly with ingredients you likely already have
- I promise they’ll disappear fast at your next potluck
Ingredients You’ll Need
- All-purpose flour: provides structure for soft cookies; use unbleached for consistent results in your red velvet cookies.
- Unsweetened cocoa powder: gives the rich chocolate flavor; natural cocoa works best for that classic red velvet taste.
- Baking soda: helps the cookies rise and spread; make sure it’s fresh for the best lift.
- Salt: balances the sweetness and enhances all flavors; I prefer fine sea salt for even distribution.
- Unsalted butter: allows you to control saltiness; softened butter creams smoothly with sugars for a light texture.
- Granulated sugar: adds sweetness and helps cookies crisp slightly; regular white sugar is perfect here.
- Light brown sugar: contributes moisture and a subtle molasses flavor; pack it firmly when measuring.
- Eggs: bind the dough and add richness; room temperature eggs blend in evenly without curdling.
- Vanilla extract: enhances the chocolate flavor; pure vanilla makes a noticeable difference in depth.
- Red food coloring gel: creates the signature vibrant color; gel is more concentrated and won’t thin your dough.
- Buttermilk: adds tanginess and tenderness; room temperature buttermilk prevents curdling and ensures a smooth batter.
- White chocolate chips: optional for extra sweetness and texture; look for high-quality chips that melt well.
- Cream cheese frosting: optional for drizzling; homemade or store-bought both work beautifully for finishing.
How to Make It
Preheat and Prepare:
Start by preheating your oven to 350°F and lining two baking sheets with parchment paper. This prevents sticking and ensures even baking for your red velvet cookies.
Mix Dry Ingredients:
In a medium bowl, whisk together the flour, cocoa powder, baking soda, and salt. Combining them first avoids overmixing later and ensures even distribution.
Cream Butter and Sugars:
In a large bowl, use an electric mixer to beat the softened butter with both sugars until light and fluffy. This step incorporates air for a tender cookie texture.
Incorporate Wet Ingredients:
Add the eggs one at a time, beating well after each addition. Then mix in the vanilla and red food coloring gel until the dough is uniformly red.
Alternate Dry and Wet Mixtures:
With the mixer on low, add one-third of the dry ingredients, then half the buttermilk. Repeat, ending with the dry ingredients. Mix until just combined to avoid tough cookies.
Fold in Optional Add-Ins:
If using, gently fold in the white chocolate chips with a spatula. This ensures they’re evenly distributed without overworking the dough.
Scoop and Space Dough:
Drop rounded tablespoons of dough onto the prepared sheets, spacing them about 2 inches apart. They need room to spread while baking.
Bake to Perfection:
Bake for 10-12 minutes until edges are set and centers look soft. They’ll firm up as they cool, so don’t overbake for that chewy center.
Cool and Finish:
Let cookies cool on sheets for 5 minutes, then transfer to a wire rack. Once completely cool, drizzle with cream cheese frosting if desired.
You Must Know
- Use gel food coloring for a vibrant red without thinning the dough
- Room temperature ingredients ensure a smooth, evenly mixed batter
- Underbake slightly for that perfect soft and chewy center
- A bit of espresso powder deepens the chocolate flavor wonderfully
- I always chill the dough if it feels too sticky to handle
Storage Tips
Store your completely cooled red velvet cookies in an airtight container at room temperature where they’ll stay soft and chewy for up to five days. If you want to keep them longer, you can freeze the baked cookies for three months—just thaw at room temperature before serving. I love freezing unbaked dough balls on a tray before transferring to a freezer bag; then you can bake a few fresh cookies anytime by adding a minute or two to the baking time from frozen.
Ingredient Substitutions
If you need a gluten-free version, swap the all-purpose flour for a 1:1 gluten-free blend—it works perfectly for these red velvet cookies. For dairy-free, use vegan butter and make your own buttermilk by adding a teaspoon of vinegar to non-dairy milk like almond or oat. In a pinch, you can use liquid red food coloring, but you’ll need more for the same vibrant hue. And if you’re out of white chocolate chips, dark chocolate or even pecans are a tasty alternative, though the classic flavor shines with the original.
Serving Suggestions
Enjoy these red velvet cookies with a cold glass of milk for a classic treat, or pair them with a hot cup of coffee to highlight the cocoa notes. For something extra special, sandwich them with a scoop of vanilla ice cream for an irresistible cookie ice cream sandwich. They also make a delightful dessert platter alongside a slice of cheesecake or as part of a holiday cookie spread. I often serve them on a pretty plate with a drizzle of extra frosting for guests to grab and enjoy.
Cultural Context
Red velvet cake has deep roots in American culinary history, particularly in the Southern United States where it became a symbol of luxury and celebration. The iconic red color, originally from a reaction between natural cocoa and acidic ingredients, now comes from food coloring, and these cookies capture that tradition in a portable form. They’ve evolved into a festive staple for Valentine’s Day and Christmas, embodying the joy of sharing homemade treats. I love how red velvet cookies blend nostalgia with convenience, making them a hit at modern potlucks and family events where everyone recognizes that vibrant hue and rich flavor.
Pro Tips
- Gel food coloring gives the deepest red without altering texture
- Ensure all refrigerated ingredients are at room temperature before starting
- Pull cookies from the oven when edges are just set
- Add instant espresso powder to amplify the chocolate flavor subtly
- Chilling sticky dough for 20 minutes makes scooping much easier
Frequently Asked Questions
Unsweetened cocoa powder is essential for achieving the authentic, deep chocolate flavor in these red velvet cookies. Dutch-processed cocoa will work, but it yields a slightly milder cocoa taste. Avoid sweetened or drinking cocoa mixes for the best results.
Yes, you can prepare the cookie dough and chill it in the refrigerator for up to 3 days before baking. For longer storage, freeze scooped dough balls on a tray, then transfer to a freezer bag for up to 3 months. Bake from frozen, adding a minute or two to the cook time.
If you don’t have buttermilk, you can make a quick substitute by adding 1 ½ teaspoons of lemon juice or white vinegar to ½ cup of regular milk. Let it sit for 5 minutes until slightly curdled. This provides the necessary acidity for a tender texture.
The cookies are ready when the edges are set and the centers look just slightly underdone. They’ll continue to firm up as they cool on the baking sheet. Avoid over-baking to maintain that perfect soft and chewy texture.
These American dessert cookies are fantastic on their own or with a glass of cold milk. For a classic pairing, serve them alongside a cream cheese frosting dip. They also make a beautiful addition to holiday cookie trays or Valentine’s Day treats.