


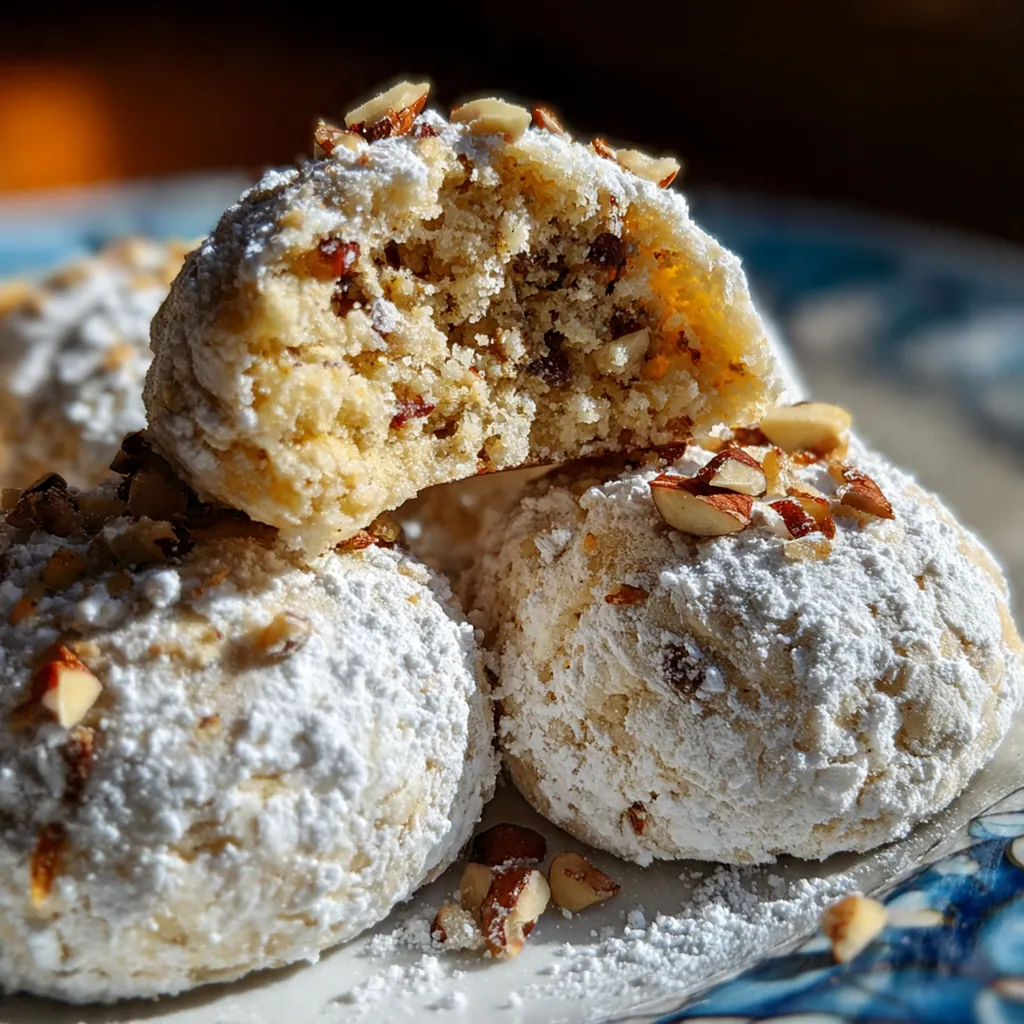
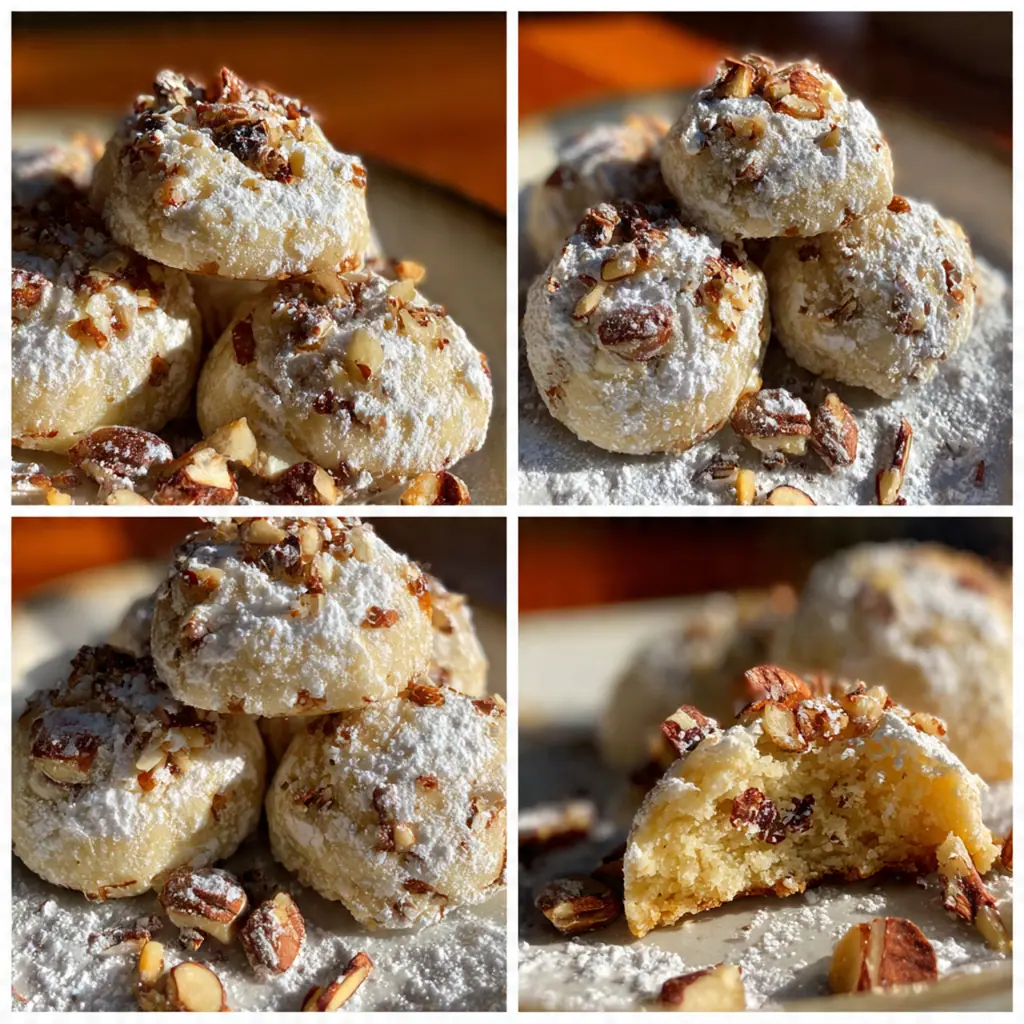
Traditional Italian Wedding Cookies, known as anginetti, are the heart of countless family gatherings, not just weddings. They’re soft, cake-like knots kissed with lemon and draped in a sweet glaze. This authentic recipe has been passed down for generations. Making them is a wonderful way to connect with Italian heritage and create your own sweet traditions.
Why You'll Love This Recipe
- They have an impossibly soft, pillowy texture that melts in your mouth
- The bright lemon flavor is refreshing and never cloying
- Shaping the little knots is a fun project to do with kids
- They make the most thoughtful and impressive homemade gift
- It’s a genuine taste of tradition
Ingredients You’ll Need
- All-purpose flour: This provides the sturdy yet tender structure for the cookie’s soft crumb. For best results, fluff your flour before measuring it.
- Baking powder: This is your leavening agent, giving the cookies their signature cake-like lift and airy texture.
- Salt: A small amount balances all the sweetness and enhances the other flavors in the dough.
- Large eggs: They bind the dough and add richness while helping to create that pale, fluffy texture when beaten.
- Granulated sugar: This sweetens the dough and, when whipped with eggs, creates air pockets for a lighter cookie.
- Vegetable oil: Using oil instead of butter keeps the crumb exceptionally moist and tender for days.
- Whole milk: This adds moisture and a bit of dairy richness that complements the lemon perfectly.
- Pure vanilla extract: It adds a warm, floral background note that rounds out the citrus flavor beautifully.
- Freshly grated lemon zest: This is where the magic lives, providing intense, aromatic lemon flavor without acidity.
- Powdered sugar, sifted: Sifting is non-negotiable for a perfectly smooth, lump-free glaze that drapes the cookies.
- Fresh lemon juice: The tart juice cuts the powdered sugar’s sweetness, making the glaze zesty and bright.
- Milk (for glaze): This helps you achieve the ideal thick but pourable consistency for easy dipping.
- Nonpareil sprinkles: These classic little balls add a festive pop of color and a delightful crunch.
How to Make It
Preheat and Prepare Your Pans:
Start by getting your oven to 350°F and lining your baking sheets. Using parchment paper or silicone mats prevents sticking and makes cleanup a breeze, guaranteeing your cookies release perfectly.
Combine Your Dry Ingredients:
In a large bowl, whisk together the flour, baking powder, and salt. You want to distribute the leavening agent evenly so every cookie rises uniformly. A quick whisk does the trick.
Beat Eggs and Sugar Until Fluffy:
In another bowl, use a mixer to beat the eggs and granulated sugar on medium speed for a few minutes. You’re looking for a pale, thickened mixture. This step incorporates air for a lighter texture.
Incorporate Wet Ingredients and Zest:
With the mixer on low, slowly stream in the oil, milk, vanilla, and that precious lemon zest. Mix just until everything is combined. You’ll smell that incredible citrus aroma right away.
Bring the Dough Together:
Gradually add the dry ingredients to the wet mixture, mixing on low. Stop as soon as a soft dough forms. Overmixing here can lead to tough cookies, so a gentle hand is key.
Shape the Cookie Knots:
On a lightly floured surface, divide the dough and roll it into ropes. Cut them, then roll each piece into a longer rope and tie a loose knot. Tuck the ends underneath for that classic shape.
Bake to Perfection:
Bake your knots for 12 to 15 minutes. They’re done when the bottoms are lightly golden and the tops are set but still pale. This keeps them soft. Let them cool on the sheet for a few minutes before moving them.
Prepare the Zesty Glaze:
While the cookies cool completely, whisk the sifted powdered sugar and fresh lemon juice. Add milk a little at a time until it’s thick but still drips slowly from a spoon. This is the perfect coating consistency.
Glaze and Decorate:
Dip the top of each cooled cookie into the glaze, let the excess drip off, and place it back on the rack. Immediately add your sprinkles so they stick. Then, let the glaze set completely for about an hour.
You Must Know
- Fresh lemon zest is absolutely essential for authentic flavor
- They should stay pale on top for that soft texture
- Chill sticky dough briefly for easier handling
- The glaze must set fully before you store them
- My family fights over who gets to add the sprinkles
Storage Tips
Once the glaze is fully set, store your Italian Wedding Cookies in a single layer in an airtight container at room temperature. They’ll stay perfectly soft and delicious for up to 5 days. For longer storage, you can freeze the unglazed cookies for up to 3 months; just let them thaw completely at room temperature and then glaze them fresh. If you’ve already glazed them, you can still freeze them in a single layer until solid, then transfer to a freezer-safe container, but note the glaze may become slightly sticky when thawed.
Ingredient Substitutions
If you need a gluten-free version, a good quality 1:1 gluten-free flour blend will work, though the texture may be slightly denser. For dairy-free, simply swap the whole milk for your favorite unsweetened non-dairy milk like almond or oat. While vegetable oil is classic, a light-tasting olive oil can add a lovely, subtle fruitiness. In a real pinch, you could use bottled lemon juice for the glaze, but the flavor won’t be nearly as bright and vibrant as with the fresh stuff.
Serving Suggestions
These Italian Wedding Cookies are a dream alongside a strong shot of espresso or a frothy cappuccino, as the coffee’s bitterness beautifully offsets the sweet glaze. For a festive dessert spread, pair them with other Italian classics like cannoli, panna cotta, or a bowl of fresh berries. They’re also wonderful just piled high on a pretty plate with a dusting of extra powdered sugar for a simple, stunning presentation at any party or as a heartfelt gift in a decorative tin.
Cultural Context
In Italy, these cookies, called ‘anginetti’ or sometimes ‘taralli dolci,’ are a fixture at celebrations far beyond weddings, appearing at baptisms, first communions, Christmas, and Easter. The knot shape itself is symbolic, often representing the bond of marriage or the interconnectedness of family. While recipes vary slightly from region to region and nonna to nonna, the constants are always the soft, cake-like texture, the citrus perfume, and the sweet glaze, making them a beloved edible tradition that carries generations of history in every single bite.
Pro Tips
- Always zest your lemons before you juice them, it’s much easier
- If your dough gets too soft while shaping, pop it in the fridge for 15 minutes
- Dip cookies on a wire rack over a tray for a cleaner workspace
- Let them cool completely; warm cookies will melt the glaze right off
- I always make a double batch because they disappear so fast
Frequently Asked Questions
The soft, cake-like texture comes from the combination of eggs, milk, and baking powder. Be careful not to overmix the dough after adding the flour to keep them tender. The baking powder gives them a lovely lift, so make sure it’s fresh for the best results.
Absolutely! You can bake the cookies a day ahead and store them in an airtight container. It’s best to apply the lemon glaze the day you plan to serve them to keep it fresh and bright. The glaze will set and form a beautiful, glossy finish.
Freshly grated lemon zest is key for the best flavor, but in a pinch, you can use 1 teaspoon of high-quality lemon extract. The flavor won’t be as vibrant and complex, so fresh is always preferred if you have lemons on hand.
They’re done when the edges are just turning a very light golden brown and the tops are set, about 12-15 minutes. They should spring back lightly when touched. Be careful not to overbake them, as you want to preserve their soft, cake-like interior.
They’re traditionally served with coffee, espresso, or a sweet dessert wine like Vin Santo. They’re perfect on their own but also pair wonderfully with fresh berries or a scoop of lemon sorbet for a more elaborate dessert.