

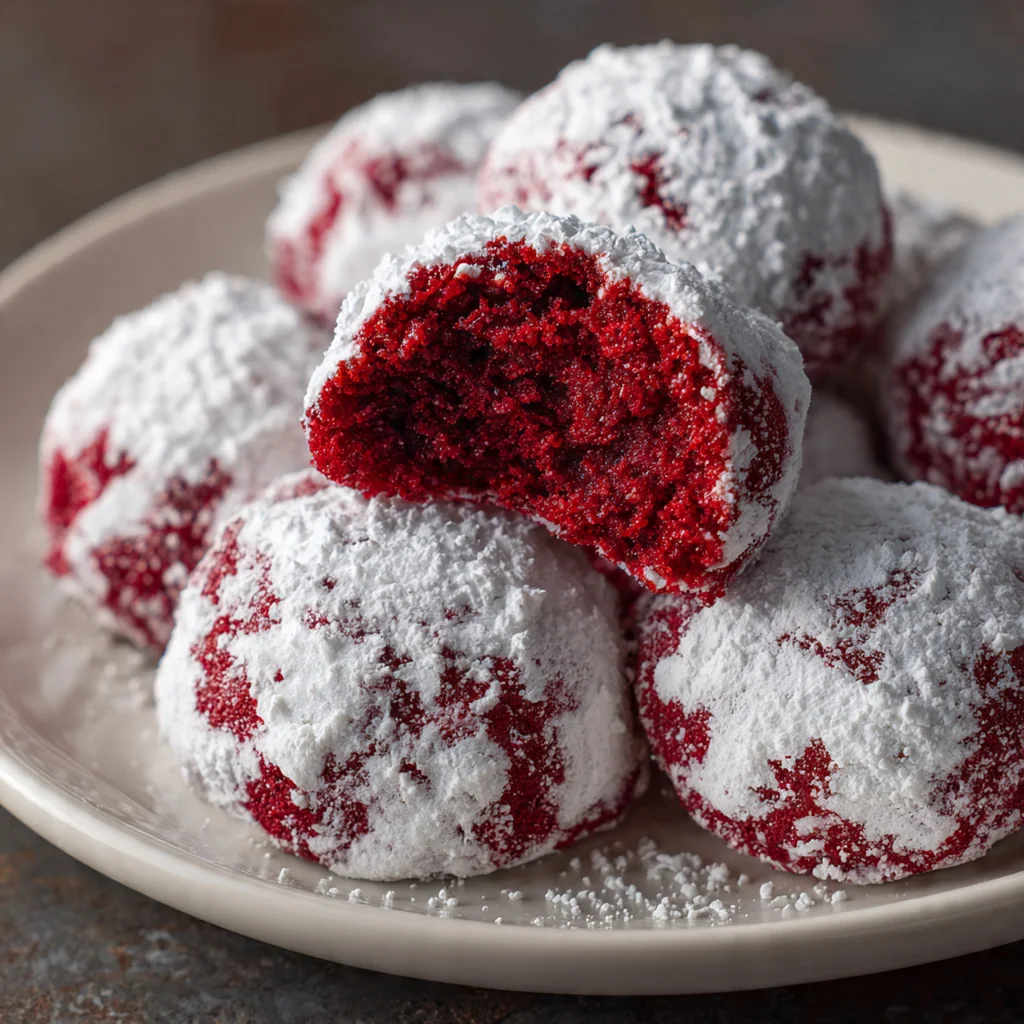
Red Velvet Snowball Cookies are the festive, vibrant star my holiday dessert table was always missing. They take the classic snowball cookie and give it a rich cocoa twist and a stunning red hue that just screams celebration. These easy American treats are perfect for anyone who loves that soft, buttery texture with a delightful crunch. You’ll find they come together quickly, making them ideal for last-minute baking or a fun cookie swap with friends.
Why You'll Love This Recipe
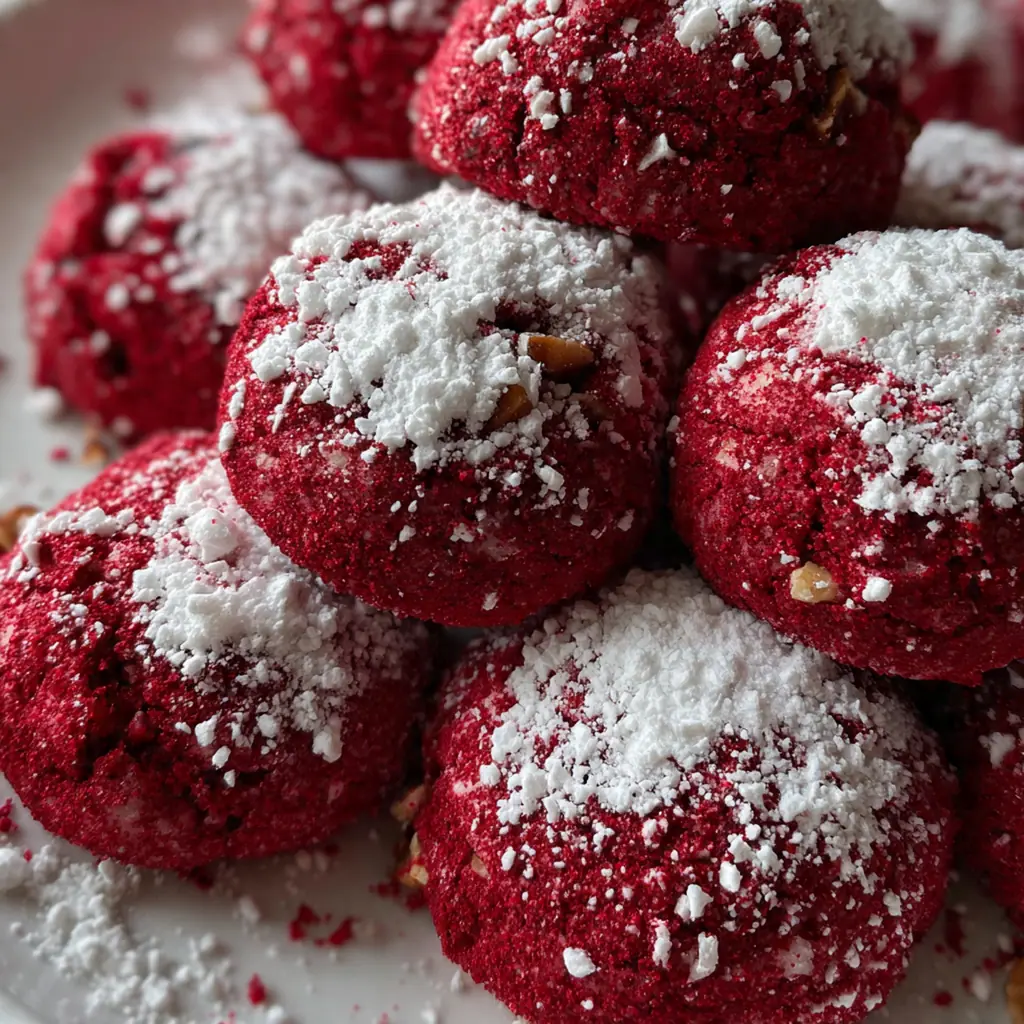
- Festive and eye-catching with a vibrant red color perfect for holidays
- Easy to make with simple, pantry-friendly ingredients
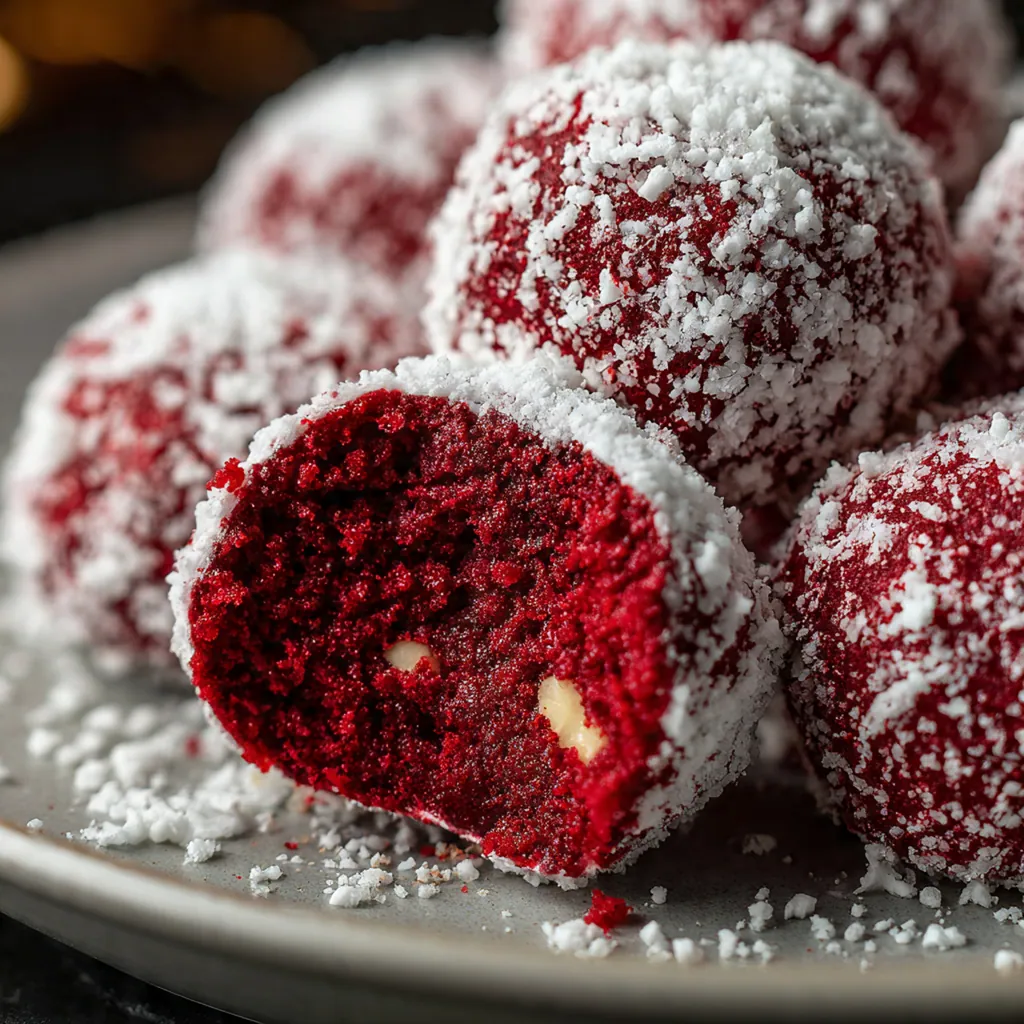
- Soft, buttery texture with a delightful crunch from pecans
- Double-rolled in powdered sugar for a beautiful snowy appearance
- They’re the first to disappear from my cookie trays every single year
Ingredients You’ll Need
- Unsalted butter: for the richest flavor and ultimate control over the saltiness in your dough, always choose a high-fat European-style butter if you can find it.
- Granulated sugar: this sweetens the dough and helps create that light, fluffy texture when creamed properly with the butter.
- Vanilla extract: use pure extract for the best flavor, it adds a warm, aromatic background that complements the cocoa beautifully.
- Red gel food coloring: gel is essential here for a deep, vibrant red without adding extra liquid that could throw off your dough’s consistency.
- All-purpose flour: the foundation of your cookie, it provides the structure so your snowballs hold their perfect round shape.
- Unsweetened cocoa powder: this is where that signature red velvet flavor comes from, use a good quality powder for the best chocolate note.
- Salt: a tiny bit balances all the sweetness and enhances every other flavor in the cookie, don’t skip it.
- Finely chopped pecans: they add a wonderful toasty crunch and nutty flavor that plays so well with the buttery dough.
- Powdered sugar: this creates the iconic snowy coating, you’ll want a fine, lump-free sugar for the smoothest finish.
How to Make It
Preheat and Prepare Your Pans:
Start by preheating your oven to 350°F and lining two baking sheets with parchment paper. This setup prevents sticking and makes cleanup a total breeze, plus it helps the cookies bake evenly.
Whisk the Dry Ingredients:
In a medium bowl, whisk together your flour, cocoa powder, and salt. Doing this first ensures everything is evenly distributed so you won’t get a bite of just flour in your finished cookie.
Cream Butter and Sugar:
In a large bowl, use an electric mixer to cream the softened butter and granulated sugar together on medium speed. You’re looking for a light and fluffy mixture, which usually takes about two to three minutes.
Incorporate Flavor and Color:
Beat in the vanilla extract and your red gel food coloring next. Keep mixing until the color is completely uniform and you have a beautifully red, smooth base for your dough.
Combine Wet and Dry:
Gradually add your flour mixture to the butter mixture, mixing on low speed. Stop as soon as the flour disappears, overmixing can make your cookies tough instead of tender.
Fold in the Pecans:
Use a spatula to gently fold in the finely chopped pecans. This method distributes them evenly without overworking the dough, ensuring every cookie has plenty of nutty crunch.
Shape the Dough Balls:
Scoop the dough by rounded tablespoonfuls and roll them into smooth one-inch balls with your hands. Place them about two inches apart on your prepared sheets so they have room to spread just a little.
Bake Until Set:
Bake for 10 to 12 minutes, just until the cookies are set. They shouldn’t brown, and they’ll still feel soft to the touch when you gently press the top.
Apply the First Sugar Coat:
Let the cookies cool on the baking sheets for exactly five minutes. While they’re still warm, roll each one generously in the bowl of powdered sugar for that initial sticky, snowy layer.
Cool and Coat Again:
Transfer the sugar-dusted cookies to a wire rack to cool completely. Once they’re cool, give them a second roll in the powdered sugar for that perfect, thick, winter-wonderland finish.
You Must Know
- Use gel food coloring for intense red color
- Chop pecans finely for even distribution
- Roll in sugar while still warm for best stick
- Let them cool fully before the second sugar coat
- I learned the double-coat trick from my grandma
Storage Tips
Store your completely cooled cookies in an airtight container at room temperature, with layers separated by parchment paper, and they’ll stay fresh and delicious for up to a week. For longer storage, freeze the baked and cooled cookies in a single layer on a tray before transferring them to a freezer bag where they’ll keep for about three months. Just thaw them at room temperature when you’re ready, and you might want to give them a quick fresh roll in a little powdered sugar to brighten them up again.
Ingredient Substitutions
If you’re out of pecans or need a nut-free version, you can simply leave them out for a smoother cookie, or swap in an equal amount of finely crushed pretzels for a similar salty crunch. For a dairy-free option, a good quality vegan butter substitute works wonderfully, just make sure it’s meant for baking. To make these gluten-free, use a trusted one-to-one gluten-free flour blend in place of the all-purpose flour, the texture comes out nearly identical. You can also use natural cocoa powder if that’s what you have, though Dutch-processed will give you a slightly deeper chocolate flavor.
Serving Suggestions
I love serving these on a big festive platter with other holiday cookies for a beautiful contrast, and they’re always a hit with a glass of cold milk or a hot cup of coffee. For a truly special treat, pair them with a mug of rich hot cocoa where the flavors just sing together. They also make incredible edible gifts, just tuck a few into a cellophane bag tied with a ribbon for a present everyone truly appreciates.
Cultural Context
The snowball cookie, also known as a Russian tea cake or Mexican wedding cookie, is a holiday classic found across many cultures, always defined by its nut-studded, buttery dough and snowy powdered sugar coat. This red velvet version is a fun, modern American twist that plays on the beloved red velvet cake trend, incorporating that signature cocoa flavor and striking color into a handheld treat. It’s a perfect example of how holiday baking traditions evolve, embracing new ideas while holding onto the comforting, familiar textures we all crave during the festive season. These cookies have become a staple at my family’s Christmas gatherings, blending nostalgia with a pop of contemporary flair.
Pro Tips
- Gel food coloring gives vibrant color without adding moisture
- Let butter soften truly at room temperature for best creaming
- Don’t skip the second sugar coat for maximum snowy effect
- Use a small cookie scoop for perfectly uniform balls
- My secret is a tiny pinch of cinnamon in the sugar for rolling
Frequently Asked Questions
For the best texture and flavor in your Red Velvet Snowball Cookies, use finely chopped pecans. Fresh, raw pecans are ideal. Toasting them lightly before chopping can deepen their flavor, but ensure they’re completely cool before adding them to the cookie dough.
Absolutely! The dough can be made and chilled for up to 3 days before baking. Once baked and cooled, store the cookies in an airtight container at room temperature for up to a week. You can also freeze the baked cookies for up to 3 months.
Gel food coloring provides a vibrant red without thinning the dough. If you only have liquid coloring, use it sparingly (about 2 tablespoons) and expect a slightly softer dough. For a natural option, you can use beet powder, but it will alter the flavor and give a more muted, pinkish-red hue.
Bake them for about 12 minutes. The cookies are done when the bottoms are just beginning to brown and the tops look dry and set. They’ll still be soft to the touch. Let them cool on the baking sheet for 5 minutes before carefully rolling in powdered sugar.
These festive cookies pair wonderfully with a cup of hot coffee, black tea, or a glass of cold milk. For a holiday dessert spread, serve them alongside other American classics like fudge, shortbread, or a cheesecake. They’re a beautiful, colorful addition to any cookie platter.