

Making your own Homemade Cronuts is a true pastry adventure that delivers spectacular results. These ingenious treats fuse the laminated, buttery layers of a classic French croissant with the fried, sugary charm of an American doughnut. The result is an impossibly flaky, golden pastry that’s worth every minute of the process. It’s a rewarding project that will fill your kitchen with the most incredible aroma and create a show-stopping centerpiece for any brunch or dessert table.
Why You'll Love This Recipe
- You get the ultimate fusion pastry with incredible flaky layers and a crisp, sugary shell
- They’re far superior to anything you can buy, made with quality ingredients you trust
- It’s a fun and rewarding baking challenge that’s sure to impress everyone
- That intoxicating aroma of frying pastry will transform your kitchen into a bakery
- I promise the effort pays off with every single bite
Ingredients You’ll Need
- All-purpose flour: This is the backbone of your dough, providing the necessary structure for all those flaky layers. Use a good quality brand you trust for consistent results.
- Granulated sugar: You’ll use it in both the dough and the final coating. In the dough, it feeds the yeast and adds a subtle sweetness that balances the richness.
- Salt: It’s essential for enhancing all the other flavors in your homemade cronuts and balancing the sweetness. Don’t skip it.
- Instant yeast: This is what makes the dough rise and become light and airy. Make sure it’s fresh for the best proofing action.
- Whole milk: Warmed milk activates the yeast and creates a tender, enriched dough. Whole milk adds a lovely richness you can really taste.
- Large eggs: They act as a binder, adding richness and color to the dough. Bringing them to room temperature helps them incorporate more smoothly.
- Unsalted butter (softened): This butter gets worked right into the initial dough, contributing to its tender texture and flavor from the start.
- Unsalted butter (cold): This is for the butter block, the heart of lamination. It must be cold but pliable so it rolls out in even sheets between your dough layers.
- Vegetable oil: A neutral oil with a high smoke point is perfect for deep frying. It lets the pastry flavor shine through without adding its own taste.
- Ground cinnamon: Mixed with sugar, it creates that classic, warm doughnut coating we all love. Freshly ground cinnamon has the best aroma.
- Powdered sugar: This is for the optional glaze, giving it a smooth, sweet finish that hardens slightly. Sift it first to avoid lumps.
- Vanilla extract: Just a teaspoon in the glaze adds a beautiful, warm fragrance that complements the buttery pastry perfectly.
How to Make It
Make the Dough:
In a large bowl, whisk together your dry ingredients—the flour, sugar, salt, and yeast. Then pour in the warm milk, crack in the eggs, and add the softened butter. Mix it all until a shaggy dough forms, then turn it out onto a lightly floured surface. Knead by hand for 5 to 7 minutes; you’re looking for a smooth, elastic ball that springs back when poked. Place it in a greased bowl, cover it, and let it rise in a warm spot. It should double in size, which usually takes about an hour to an hour and a half.
Prepare the Butter Block:
While the dough rises, tackle the butter block. Place your two sticks of cold butter side-by-side between two sheets of parchment paper. Use a rolling pin to pound and roll them into a neat 8×5-inch rectangle. This process warms the butter just enough to make it pliable without melting it. Slide the packet onto a baking sheet and chill it in the fridge until it’s firm but still bendable, which takes about 30 minutes.
Laminate the Dough:
Once your dough has doubled, punch it down gently to release the air. On a floured surface, roll it into a 10×8-inch rectangle. Unwrap your chilled butter block and place it right in the center of the dough rectangle. Fold the exposed edges of dough over the butter, sealing it in completely like an envelope. Now, with the seam side facing you, roll this packet out into a long rectangle about 20×10 inches. Fold it into thirds, like a letter. This is your first ‘turn’. Wrap it in plastic and chill for 30 minutes to firm up the butter again.
Complete the Turns:
You’ll repeat the rolling and folding process two more times. For each turn, place the chilled dough with the open seam facing your right side, roll it out long, and fold it into thirds. Always chill the dough for a full 30 minutes between each turn; this keeps the butter cold and creates those distinct layers. After the third and final turn, wrap the dough tightly and let it chill for at least one hour, or even overnight. This long rest relaxes the gluten and makes the dough much easier to roll out later.
Cut and Proof the Cronuts:
On a well-floured surface, roll your chilled dough out to a consistent 1/2-inch thickness. Use a 3-inch round cutter to stamp out as many circles as you can. Then, take a 1-inch cutter and punch out the center of each circle to create your classic ring shape. Transfer the rings to parchment-lined baking sheets, cover them loosely with a clean kitchen towel, and let them proof at room temperature. They’re ready to fry when they look visibly puffy and jiggle slightly, about an hour later.
Fry the Cronuts:
Pour your oil into a heavy, deep pot and attach a deep-fry thermometer. Heat the oil to a steady 350°F. Carefully lower 2 or 3 cronuts into the hot oil using a slotted spoon or spider. Don’t overcrowd the pot. Fry them for about 1 to 1.5 minutes per side until they’re a deep, glorious golden brown. The smell is unbelievable. Transfer them to a wire rack set over a paper towel-lined tray to drain.
Coat and Glaze the Cronuts:
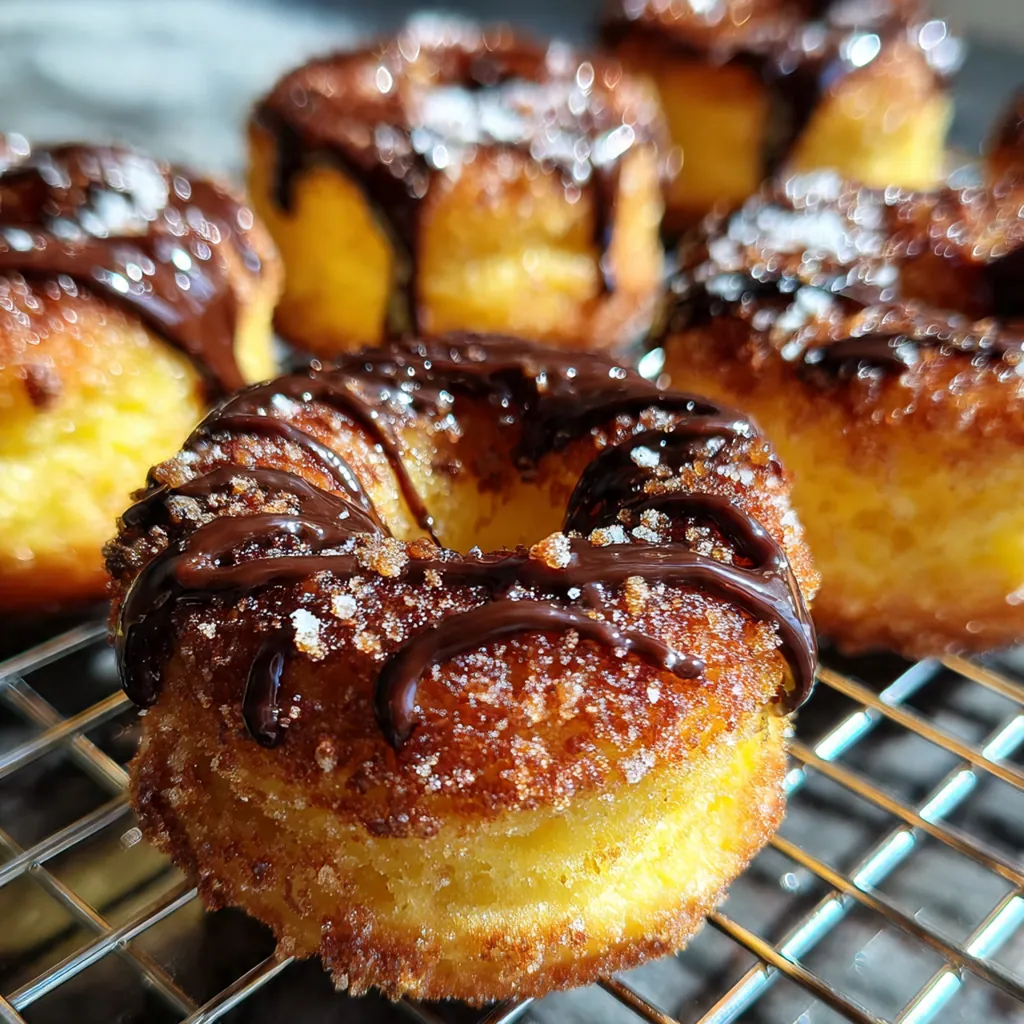
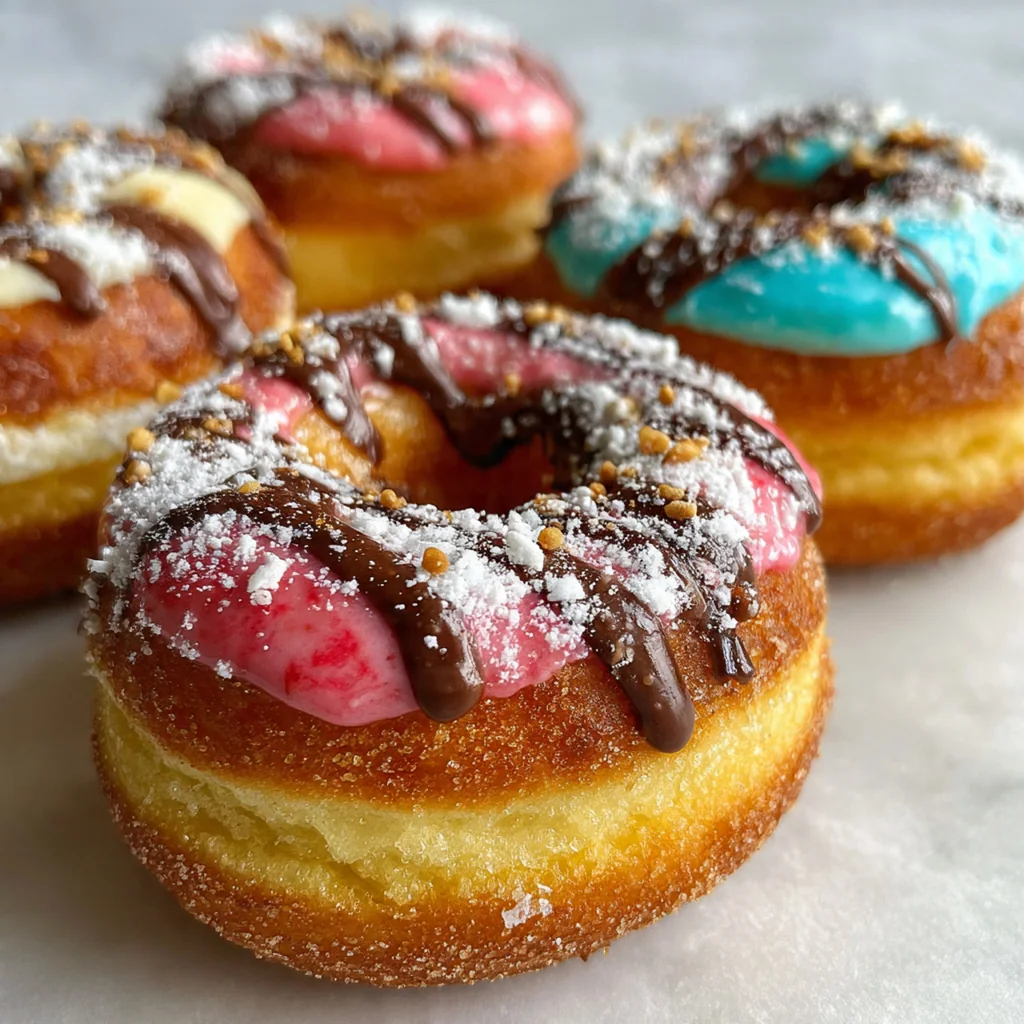
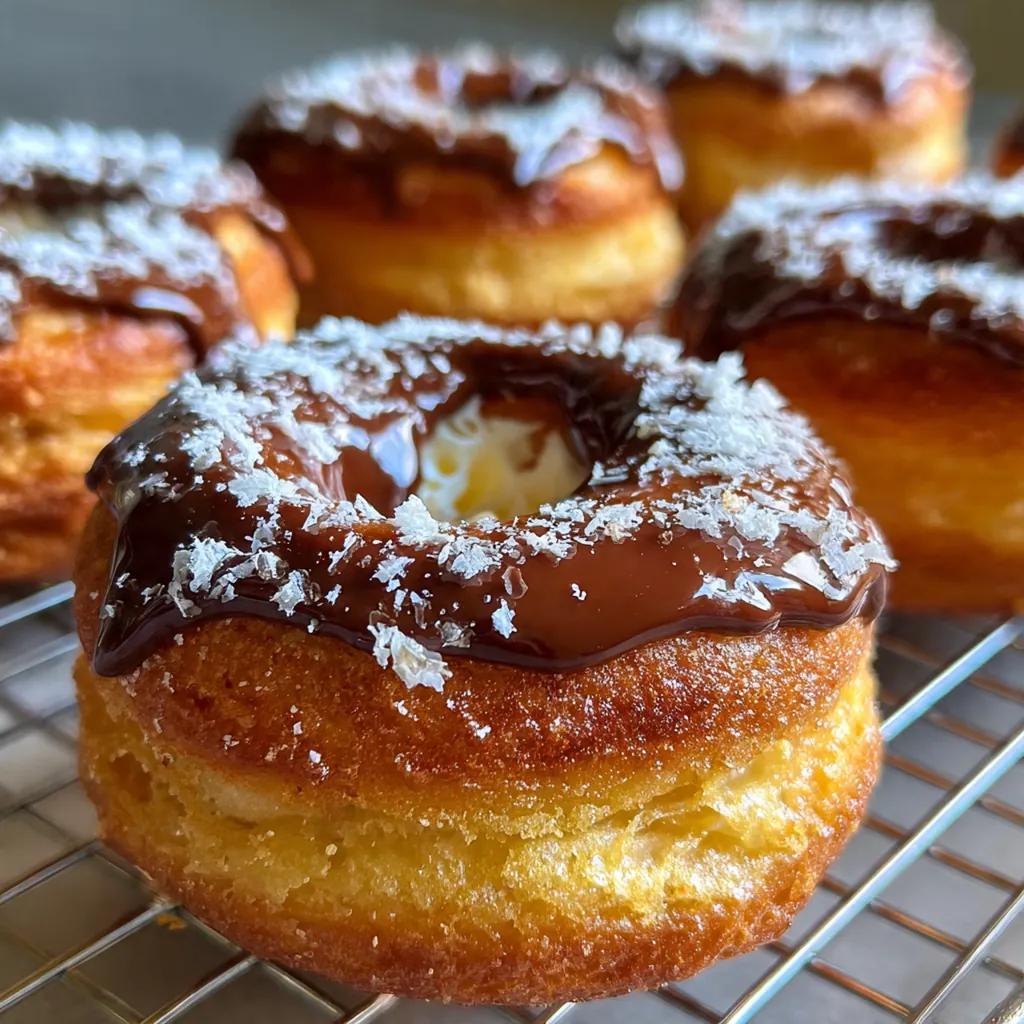
While the cronuts are still warm, whisk together the cup of sugar and cinnamon in a shallow bowl. Gently toss each fried cronut in the mixture until it’s evenly coated in that classic sugary shell. For the optional glaze, simply whisk the powdered sugar, milk, and vanilla together until smooth, adding a touch more milk if it’s too thick. Drizzle it over the cronuts in a zig-zag pattern. Let them cool for just a few minutes on the rack before serving—they’re truly best when still slightly warm.
You Must Know
- Accuracy with the butter block size is non-negotiable for perfect lamination
- Keep everything cold—if the dough feels sticky, chill it for 15 minutes
- Don’t rush the final proof; they need to look puffy and alive
- The little dough centers you cut out are cronut holes, a chef’s treat
- My kitchen has never smelled better than when these are frying
Storage Tips
Let’s be real, these homemade cronuts are at their absolute peak the day you make them, ideally still slightly warm. If you have any leftovers, store them in a single layer in an airtight container at room temperature for just one day. You can recrisp them in a 350°F oven for about 5 minutes to bring back some of that magic. I don’t recommend freezing them after they’re fried, as the texture really suffers, so share them with friends and enjoy them fresh.
Ingredient Substitutions
If you don’t have instant yeast, you can use active dry yeast; just activate it in the warm milk with a pinch of sugar first. For a dairy-free version, swap the butter for a high-quality, firm vegan butter block and use your favorite non-dairy milk. The vegetable oil can be any neutral high-heat oil like canola or peanut. While the cinnamon sugar is classic, feel free to roll your warm cronuts in plain granulated sugar or even a mix with a little cardamom or nutmeg for a different twist.
Serving Suggestions
There’s nothing better than serving these warm homemade cronuts with a strong cup of black coffee or a cold glass of milk to cut through the richness. For a special brunch spread, I love pairing them with a bright, fresh fruit salad to balance everything out. They also make an incredible dessert—imagine them with a scoop of vanilla bean ice cream on the side. Honestly, they’re so good they don’t need any accompaniment at all.
Cultural Context
The cronut is a distinctly modern American invention, a brilliant pastry mashup that took the world by storm in the early 2010s. It combines the meticulous, butter-laminated technique of the French croissant with the fried, sugar-dusted format of the classic American doughnut. This fusion speaks to a playful, innovative spirit in baking, taking two beloved traditions and creating something entirely new and spectacular. While it requires patience and skill, making homemade cronuts from scratch is a celebration of that creative culinary spirit right in your own kitchen.
Pro Tips
- Use a digital thermometer to monitor your oil temperature religiously
- Chill your dough between turns without cutting the time short
- Fry in small batches to maintain the oil’s temperature
- Save every single dough center and fry them as cronut holes
- The feeling of pulling apart that first flaky layer is pure joy
Frequently Asked Questions
Instant yeast, as listed, is ideal for homemade cronuts because it can be mixed directly with the dry ingredients, saving time. Active dry yeast can be substituted but must be proofed first in the warm milk. The yeast is essential for creating the dough’s airy, laminated structure.
Absolutely! You can prepare the laminated dough, cut out the cronut shapes, and let them proof slowly in the refrigerator overnight. This slow rise often enhances flavor. Fry them fresh in the morning for the best texture.
For rich, tender cronuts, whole milk is best. However, you can use 2% milk in a pinch. Avoid non-fat milk, as the fat content in whole milk contributes significantly to the pastry’s tender crumb and flavor.
Your oil should be at a steady 350-375°F. The cronuts are ready when they’re a deep, golden brown on both sides, which takes about 60-90 seconds per side. They’ll feel light and airy, not greasy or dense.
These spectacular homemade cronuts are perfect on their own, dusted in cinnamon sugar. For an American-style dessert, serve them with a dollop of pastry cream, a chocolate glaze, or a simple berry compote alongside a cup of coffee.