

Every holiday season, my kitchen fills with the warm scent of baking sugar cookies, a tradition that spans generations. This classic American sugar cookie recipe is the one I rely on for cookies that are soft yet sturdy, holding every intricate cutter shape perfectly. With a buttery, vanilla-forward flavor and a hint of almond, they’re the ideal blank canvas for royal icing and sprinkles. You’ll love how this dough rolls out like a dream and bakes up into picture-perfect treats every time.
Why You'll Love This Recipe
- The dough rolls out smoothly and holds sharp cookie cutter edges perfectly
- They have a classic buttery flavor with a hint of almond that complements any frosting
- These cookies stay soft for days, making them ideal for make-ahead gifting
- They’re sturdy enough to decorate but still have a tender, melt-in-your-mouth texture
- This is my go-to recipe for every holiday and special occasion
Ingredients You’ll Need
- Unsalted butter: for rich flavor and control over saltiness, softened to room temperature so it creams properly with sugar for a light texture.
- Granulated sugar: for sweetness and structure, creaming it with butter creates air pockets that give the cookies their tender crumb.
- Large egg: binds the dough and adds richness, using room temperature egg ensures it incorporates evenly without curdling.
- Pure vanilla extract: for that classic warm flavor, pure extract makes a huge difference over imitation for the best taste.
- Pure almond extract: adds a subtle nutty depth that pairs beautifully with vanilla, but you can skip it if needed for allergies.
- All-purpose flour: the foundation for structure, spoon and level it for accurate measuring to avoid dense cookies.
- Baking powder: gives the cookies a slight lift so they’re tender but still hold their shape without spreading.
- Kosher salt: balances the sweetness and enhances all the flavors, I prefer it for its clean taste without additives.
- Whole milk or heavy cream: adds moisture and richness for a tender crumb, room temperature is key for even mixing.
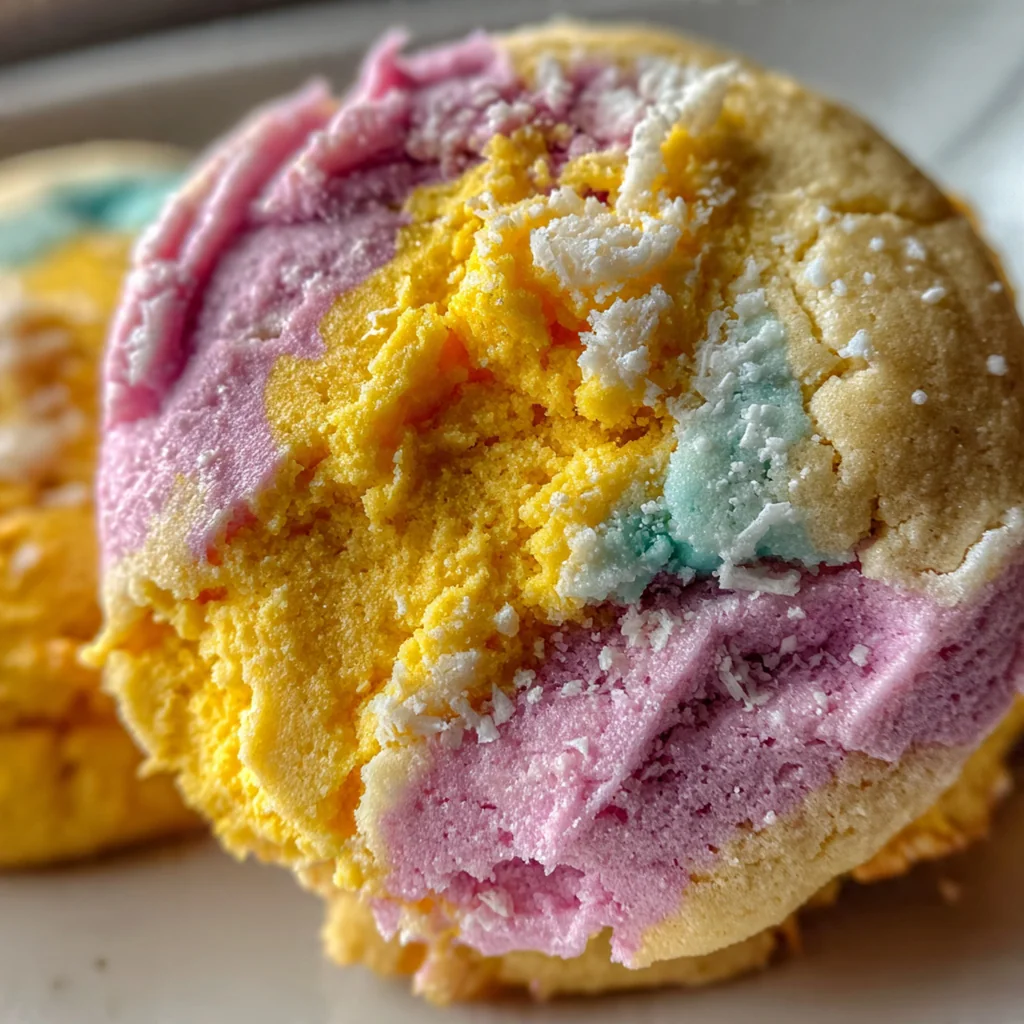
- Royal icing or simple glaze: for decorating, it dries hard and smooth making it perfect for detailed work and layering.
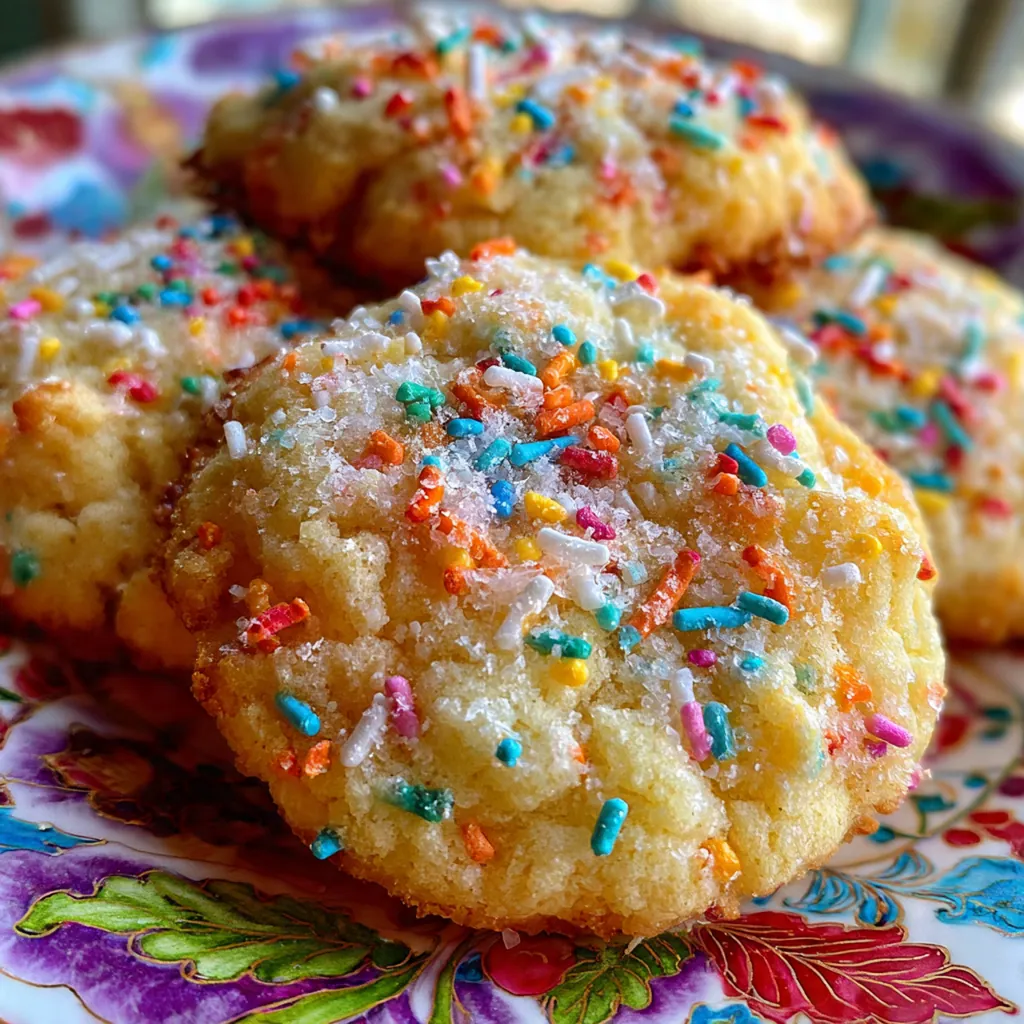
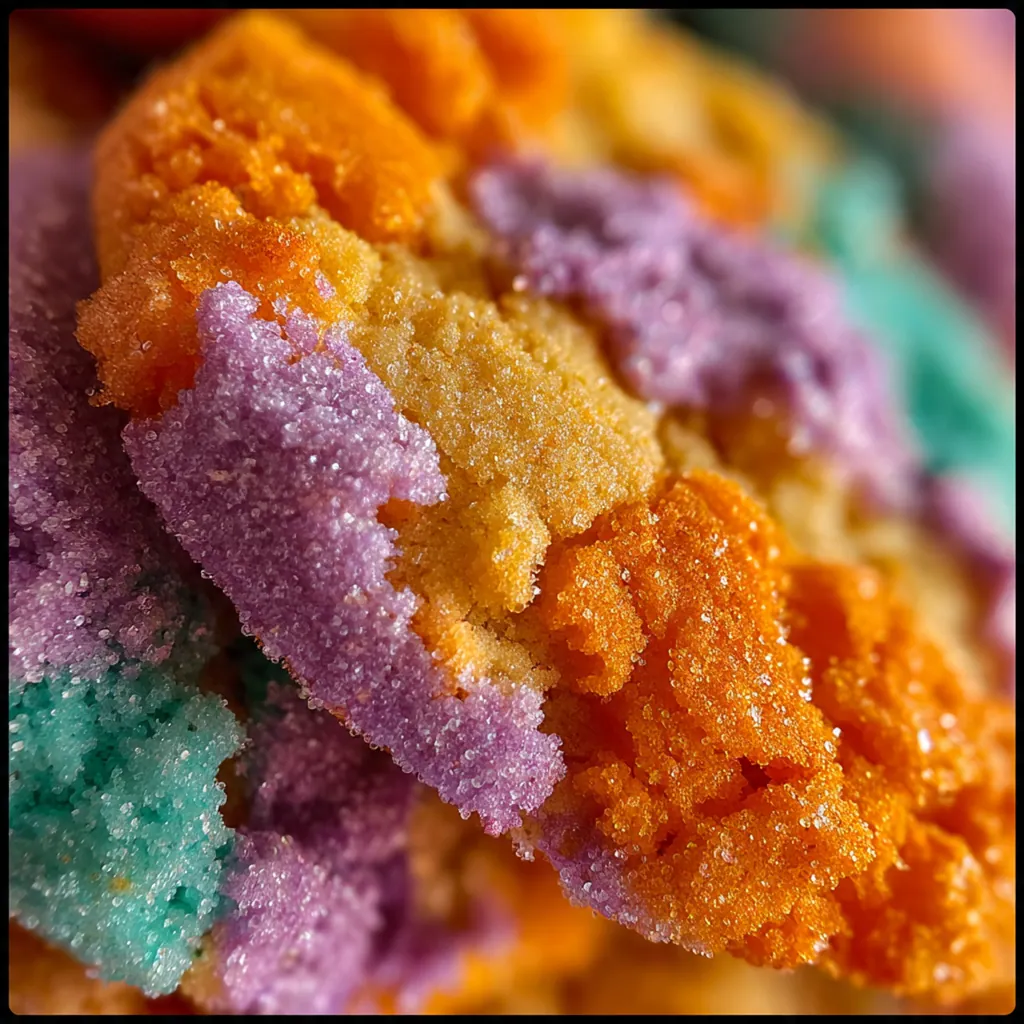
- Sprinkles, sanding sugar, or nonpareils: for festive color and texture, use them to personalize your cookies with holiday cheer.
How to Make It
Cream Butter and Sugar:
In the bowl of your stand mixer fitted with the paddle attachment, cream together the softened butter and granulated sugar on medium-high speed for 3-4 minutes. You’ll know it’s ready when the mixture is light, fluffy, and pale in color. This step is crucial because it incorporates air into the dough, which gives your sugar cookies that tender, melt-in-your-mouth texture. Don’t rush it – set a timer if you need to.
Add Wet Ingredients:
Add the egg, vanilla extract, and almond extract if using to the creamed mixture. Mix on medium speed until fully combined, scraping down the sides of the bowl as needed. This ensures that all the wet ingredients are evenly distributed throughout the dough. Be careful not to overmix at this stage.
Combine Dry Ingredients:
In a separate bowl, whisk together the flour, baking powder, and salt until well combined. Whisking aerates the flour and evenly distributes the leavening and salt, which prevents lumps and ensures consistent baking. I like to do this while the butter and sugar are creaming.
Incorporate Dry Ingredients and Milk:
With the mixer on low speed, add about half of the dry ingredients to the butter mixture and mix just until incorporated. Then pour in all the milk and mix, followed by the remaining dry ingredients. Mix until the dough just comes together and no dry streaks remain. Overmixing can develop gluten and make the cookies tough.
Chill the Dough:
Divide the dough in half and shape each into a flat disc. Wrap tightly in plastic wrap and refrigerate for at least one hour. This chilling step is non-negotiable as it firms up the butter, preventing the cookies from spreading during baking. You can chill it longer, up to two days.
Preheat and Prepare:
Preheat your oven to 350°F and line two or three baking sheets with parchment paper. On a lightly floured surface, roll out one dough disc to about 1/4-inch thickness. Use your favorite cookie cutters to cut out shapes, re-rolling the scraps as needed. Place the cut-outs on the prepared sheets, leaving about an inch between them.
Bake to Perfection:
Bake for 8-10 minutes, rotating the pan halfway through, until the cookies are set and the edges are just barely beginning to turn a faint golden brown. They should not brown on top. Keep a close eye because baking time can vary with oven accuracy.
Cool Completely:
Allow the cookies to cool on the baking sheet for 5 minutes before transferring them to a wire rack to cool completely. This lets them firm up so they don’t break when moved. Patience here ensures your decorations will go on smoothly.
Decorate with Flair:
Once completely cool, decorate with royal icing, glaze, and sprinkles as desired. Let the decorations set completely before storing to keep them picture-perfect. I often let them sit overnight if I’ve used royal icing for a hard finish.
You Must Know
- Chilling the dough is non-negotiable for cookies that hold their shape
- Use room temperature ingredients for a smooth, evenly mixed dough
- Roll to a consistent 1/4-inch thickness for even baking
- Let cookies cool on the sheet before moving them to prevent breakage
- This recipe is your new holiday staple, I promise
Storage Tips
Once your decorated sugar cookies have set completely, store them in a single layer in an airtight container at room temperature where they’ll stay perfect for up to a week. For longer storage, you can freeze the undecorated baked cookies for up to three months, just layer them between parchment paper in a freezer-safe container. I often freeze the wrapped dough discs for up to two months, so I can bake fresh cookies anytime a craving hits or surprise guests arrive.
Ingredient Substitutions
If you need a dairy-free version, swap the butter for a plant-based alternative that bakes well, like those made for baking. You can skip the almond extract entirely for a nut-free cookie, or replace it with a bit more vanilla or even lemon extract for a different twist. In a pinch, half-and-half or even full-fat coconut milk can stand in for the whole milk or heavy cream, though the richness might vary slightly. For the flour, I don’t recommend substitutes as all-purpose is key for the right texture, but in emergencies, a gluten-free blend might work with adjustments.
Serving Suggestions
These sugar cookies are fantastic with a cold glass of milk or a hot cup of coffee, balancing the sweetness perfectly. For a festive touch, arrange them on a cookie platter alongside other holiday classics like gingerbread and shortbread – they’re always the first to disappear. I love gifting them in decorative tins or boxes, tied with a ribbon, because they travel well and bring joy to anyone who receives them. They also make adorable place cards or party favors when decorated with guests’ names or themes.
Cultural Context
The cut-out sugar cookie is a quintessential American tradition, deeply rooted in holiday baking and family gatherings. Its origins trace back to simple butter cookies in Europe, but the American version evolved with the addition of baking powder for lift and the practice of rolling and cutting shapes, which became popular in the 19th century. Today, decorating these cookies with royal icing and sprinkles is a cherished activity during Christmas, Easter, and other celebrations, often bringing generations together in the kitchen. They represent a blank canvas for creativity, where each decorator can express their personal style, making them more than just a treat but a part of shared memories and festive rituals.
Pro Tips
- Use wooden dowels or rolling pin rings to roll dough to a perfectly even thickness
- If the dough gets soft while working, pop it back in the fridge for 15 minutes
- For intense vanilla flavor, add the scrapings from a vanilla bean along with the extract
- Bake one test cookie first to check your oven’s temperature and adjust time accordingly
- I always use light-colored baking sheets to prevent the bottoms from browning too much
Frequently Asked Questions
All-purpose flour is the key to achieving the ideal texture in these sugar cookies. It provides enough structure to hold intricate shapes during baking while maintaining a tender, soft crumb. Avoid using cake flour or bread flour for this particular recipe.
Absolutely! The dough chills beautifully. Wrap it tightly and refrigerate for up to 3 days, or freeze for up to 3 months. You can also bake, cool, and store the undecorated cookies in an airtight container at room temperature for up to a week before icing.
If you don’t have almond extract or prefer a different flavor, you can simply omit it and increase the pure vanilla extract to 2 1/2 teaspoons. For a citrus twist, you could add 1/2 teaspoon of lemon or orange extract instead.
The cookies are done when the edges are set and just barely starting to turn a light golden color, about 8-10 minutes. They should not brown on top. They’ll continue to firm up as they cool on the baking sheet, which is crucial for that soft-yet-sturdy texture.
These classic American sugar cookies are a dessert on their own, especially when decorated. They pair wonderfully with a cold glass of milk, a cup of coffee, or hot chocolate. For a festive spread, serve them alongside other holiday treats like fudge or peppermint bark.